'Seashell' reminds me of vacation time and lots of fun. And this is a little space for my craft works or something I did in my spare time with lots of fun. Thank you for visiting.
Above is a journal cover I made this weekend. It fit an A5 art diary.
I used recycled fabric, from my kid's denim and my husband's beige cotton trousers.
As a lovely accent in the front I cut a piece of traditional Holland fabric that my husband bought for me when he was there 2 years ago.
This is how I made it, step by step...
Made a piece of patchwork fabrics from your favorite scraps or just like me ... from unused clothing. Measurement : 8.50 x 21 inches.
Turn the raw, short ends of the rectangle under by 0.25" and topstitch.
I add a small pocket (3 x 3.50 inches) on the corner to keep my business cards.
Then put the right side of your journal cover facing upwards, turn each of the short ends in by 3.50" or maybe 4.00" (depends on how thick is your journal) and pin.
Make a lining from patchwork fabric too or just 1 solid fabric. Choose which one you like :)
I sew the 2 edges of this lining zigzag to overlock the fray thread of the fabric.
Place the lining over the journal cover, matching centers. Don't forget to apply a ribbon.
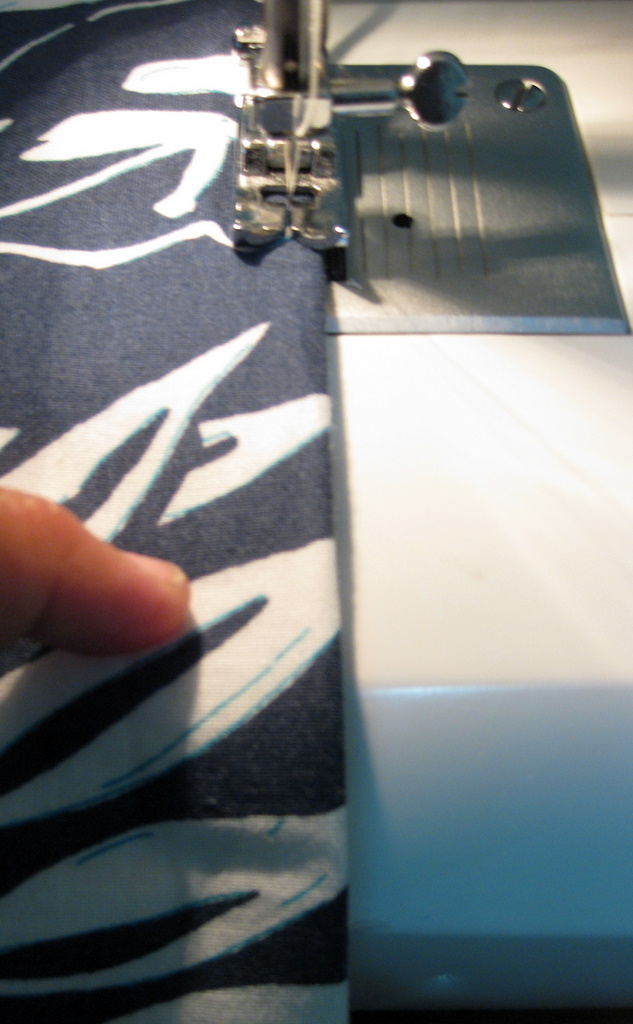
Stitch the top and bottom using 0.25" seam allowance.
Make sure tuck the ribbon in out the way.
Now you can turn the entire journal cover from right or left side of the opening.
Tadaaa....now your journal cover is done!
You can ironing it to make it neat and perfect.
Psst...I'm not a perfect person, see....those wrinkles everywhere! Because I'm too lazy to iron :)
Insert your A5 journal and admiring your work!! Enjoy :)
This is the back of my journal.
Hopefully this simple tutorial could help you in making your own journal.
Hi...this Simple Sling Bag tutorial is ready!! I had tried my best to make a simple tutorial for you..
For the BAG you will need:
2 pieces fabric 16 x 14 inches or 40.50 x 35.50 cm (outside)
2 pieces muslin fabric 16 x 14 inches or 40.50 x 35.50 cm (lining)
4 pieces interfacing fabric 16 x 14 inches or 40.50 x 35.50 cm
Cut 2 of 2 x 2 inches (4.50 x 4.50 cm) squares on the corners for each fabric.
Sew 3 sides of the outside and interfacing fabric together like in the picture above.
Stitch 1/2 inches from edge.
Leave it open for the top and both square corners.
To make a boxed corners.....
Create a triangle at each bottom corner with the side seam centered on top.
Ah, it's difficult for me to describe this into words...
Just please see the photos below :)
Then sewing straight about 1/2 inches from the corners edges.
This is what your outside bag should look like at this point.
For the inside POCKET you will need:
2 pieces fabric 13 x 10 inches or 33 x 25 cm. I use the same fabric as outside bag for this pocket.
Sew 3 sides of the pockets (leave the top open) after you first top stitching both of the pocket shape fabrics. Turn right side out. Place the pocket in the middle of the lining.
Pin and sew the pocket to the lining.
The pocket would be like this after all...
Here, I made 2 pockets by sewing double straight lines in the middle of the pocket.
Repeat all the process again for the lining to make bag shape just like for the outside fabric.
Don't forget to put the interfacing fabric between layers.
Leave a 4 - 5 inches opening for turning bag (I usually leave this on the bottom of the lining).
Now you have 2 same bag shapes, one is made from the outside fabric and the other is the lining.
For the STRAP you will need :
1 pieces 7 x 41 inches outside fabric.
1 pieces 7 x 41 inches muslin fabric for making the strap thicker but still soft to your shoulder.
Press each side of straps, then fold straps in half, being careful to matched edges closely.
Press well to create strap. Sew close to folded edge on strap, top-stitch 1/4" in from outer edge stitching.
Place straps in between right sides of fabric on each side.
Don't forget to put magnetic snaps at the top of the lining.
Place lining fabric inside the outside fabric right sides together.
Pins straps and top edge of bag well.
Stitch around top of bag 1/2 inch from edge.
Turn the bag right side out by pulling outer shell through the opening in the bottom side of the lining.
This is what your sling bag should look like at this point.
If you are happy with everything, finnish by top stitching a 1/4" from the edge all around the top of the bag.
Don't forget for also sewing the opening on the bottom (lining) of the bag.
Ta Daa..!! Enjoy your beautiful new sling bag now :) Please let me know if I don't make sense on somehing.
I'm not celebrating Halloween here, but inspired to make a fabric pumpkin like this. My idea is come from a book "Sewing for a Holiday" by Singer. You could use it as a small decoration for your Halloween party or just like me...use it as a cute pin cushion. It's up to you !
This is really a quick project. I also made this in the middle of my 'puckery' quilt project that has not finished yet. You only need to :
Cut eight 9 x 13 cm rectangle fabrics and draw a pattern of partial pumpkin on a paper.
The partial pumpkin pattern is 7 cm wide and 11,5 cm long. (sorry, I just don't know how to put the numbers into the pic). Just fold one piece of fabrics you had already cut and pin the pattern onto it.
Cut along the pattern then soon you'll have 8 pumpkin pieces like these.
Stitch with around 1/2 cm (1/4") seam allowance for 2 pumpkin pieces right together along one side using 8 - 10 stitches per inch. Leave thread tails at curved end.
Stitch remaining pumpkin pieces together, 2 at a time to make 4 sections. Stitch two pumpkin section together . Draw up thread tails to gather slightly along seam lines like this. Just don't pull too hard :)
Look, the pumpkin pieces will look like this 'pumpkin' after you turned it right side out. Stuff the pumpkin lightly with polyester fiberfill or leftover batting pieces. Fold the edge under itself and hand stitched after that so the small opening looks neat.
Also hand stitched the bottom of the pumpkin to close the opening.
For leaves: Cut 2 rectangles of 10 x 18 cm green fabric. place wrong side together, fold in half. My advise: You should use brighter green fabric than mine. This is the only green I have, so better use it than buy another :)
Edgestitch next to fold through all layers.
Make fringed leaves by clipping the fabrics at 0,5 cm interval or choose whatever size you like.
Cut a small branch from a tree, insert it at the top of the pumpkin, secure with hot glue.
Also apply hot glue to stitched fringed green leaves, wrap strip around your pumpkin. Tadaa...now, done!!