I hope I made this pictorial of sewing curvy block easy to followed since I'm a beginner in sewing & quilting . Please tell me`if I did mistakes here.
First, choose 2 kinds of fabrics you liked. Placed them overlapped, used pin to stick them.
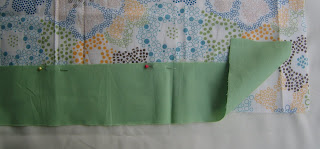
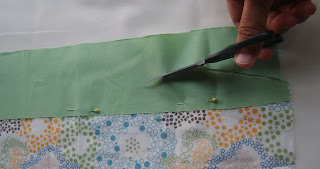
Then cut a wavy or curvy lines you liked. Used scissor or roller cutter, choose the one you've comfortable to work with. I used scissor here.
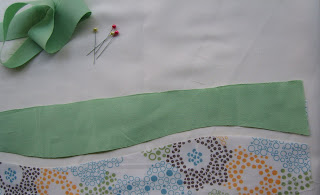
These are the 2 pieces look alike after I cut them. Don't toss away the little piece, keep into your scrap container box. Who knows it'll be useful for your next project :)
Now, flip back the green fabric to the lower 'polka dot flower' fabric carefully then sew them together. Make sure both of the tips meet exactly at the same point before they flipped back. Start sewing along the curvy line while you carefully justified both of the curvy lines. Don't need any help of pins here, just trust your fingers :)
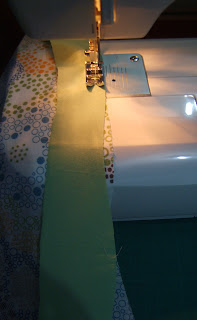
After the pieces had joined it'll be a little bit wavy, but it's ok. Just flip the fabric cover then ironed it.
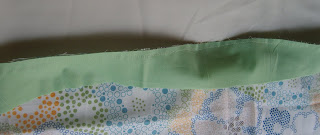
It'll become smooth again....
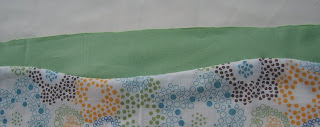
If you plan to make couple of curvy line rows, just do it again like from the first step and continue. Here I added 2 more, white and grey fabrics.
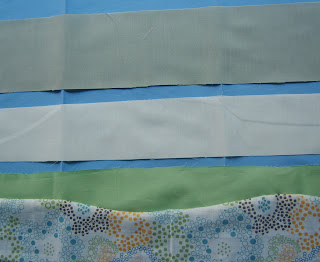
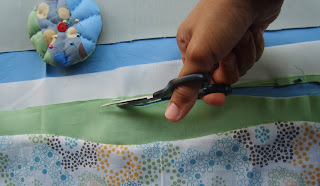
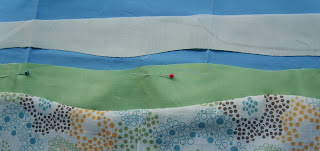
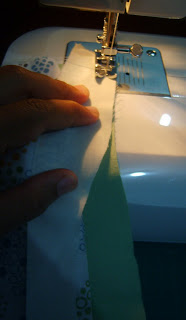
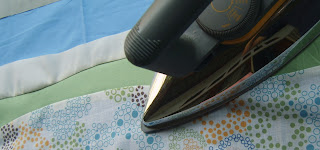
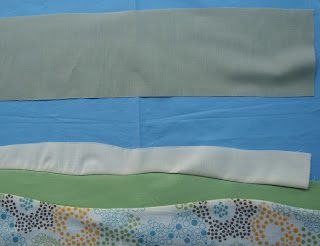
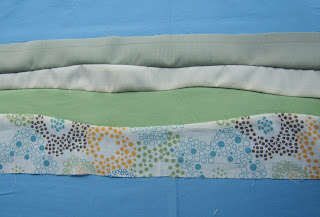
I didn't include measures of fabric strips above. You can sew as long as you want to make curvy strips. For me it would be easier like that because I only need to cut off the long 'curvy line' strips I've made at the end into couple of blocks like this.
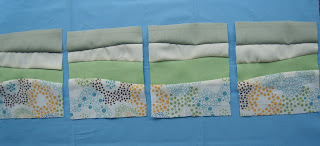
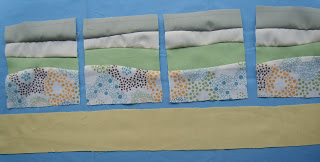
Then...I added 4 straight sides into the curvy blocks.
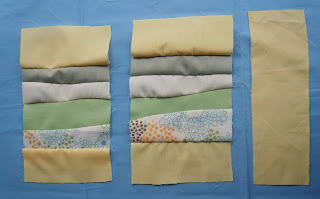
These are the finished blocks...
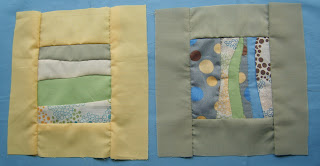
You can also make curvy lines too for the 4 edges of the block, just repeat the step from the beginning.
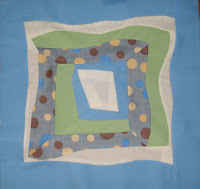

Enjoy sewing your wavy block :)
Beautiful! I'll have to try that. Thank you.
ReplyDeleteYou made a wonderful tutorial! And I like your pincushion - did you make it, too?
ReplyDeletelook at you...teaching others! i saw your quilt on flickr...wonderful work!!
ReplyDeleteI've been wanting to try curves and now I can, thanks so much.
ReplyDeletegreat tutorial henny! looks like youve been busy. i'm glad youre doing so much quilting! great fabrics you got recently, i especially like the animal one. happy quilting!
ReplyDeleteThis is so awesome. I will have to try this one. I am new to sewing and quilting too and trying to learn new things all the time.
ReplyDeleteI'll try to make it mbak... thanks ya
ReplyDelete