I had tried my best to make a simple tutorial for you..
For the BAG you will need:
2 pieces fabric 16 x 14 inches or 40.50 x 35.50 cm (outside)
2 pieces muslin fabric 16 x 14 inches or 40.50 x 35.50 cm (lining)
4 pieces interfacing fabric 16 x 14 inches or 40.50 x 35.50 cm
 Cut 2 of 2 x 2 inches (4.50 x 4.50 cm) squares on the corners for each fabric.
 Sew 3 sides of the outside and interfacing fabric together like in the picture above.
Stitch 1/2 inches from edge.
Leave it open for the top and both square corners.
 To make a boxed corners.....
Create a triangle at each bottom corner with the side seam centered on top.
Ah, it's difficult for me to describe this into words...
Just please see the photos below :)

 Then sewing straight about 1/2 inches from the corners edges.
This is what your outside bag should look like at this point.
For the inside POCKET you will need:
2 pieces fabric 13 x 10 inches or 33 x 25 cm. I use the same fabric as outside bag for this pocket.
 Sew 3 sides of the pockets (leave the top open) after you first top stitching both of the pocket shape fabrics.
 Turn right side out. Place the pocket in the middle of the lining.
  Pin and sew the pocket to the lining.
 Here, I made 2 pockets by sewing double straight lines in the middle of the pocket.
 Repeat all the process again for the lining to make bag shape just like for the outside fabric.
Don't forget to put the interfacing fabric between layers.

 Leave a 4 - 5 inches opening for turning bag (I usually leave this on the bottom of the lining).
 Now you have 2 same bag shapes, one is made from the outside fabric and the other is the lining.
For the STRAP you will need :
1 pieces 7 x 41 inches outside fabric.
1 pieces 7 x 41 inches muslin fabric for making the strap thicker but still soft to your shoulder.

 Press each side of straps, then fold straps in half, being careful to matched edges closely.
 Sew close to folded edge on strap, top-stitch 1/4" in from outer edge stitching.
 Place straps in between right sides of fabric on each side.
 Don't forget to put magnetic snaps at the top of the lining.
Place lining fabric inside the outside fabric right sides together.
 Pins straps and top edge of bag well.
  Stitch around top of bag 1/2 inch from edge.
 Turn the bag right side out by pulling outer shell through the opening in the bottom side of the lining.
 This is what your sling bag should look like at this point.
 If you are happy with everything, finnish by top stitching a 1/4" from the edge all around the top of the bag.
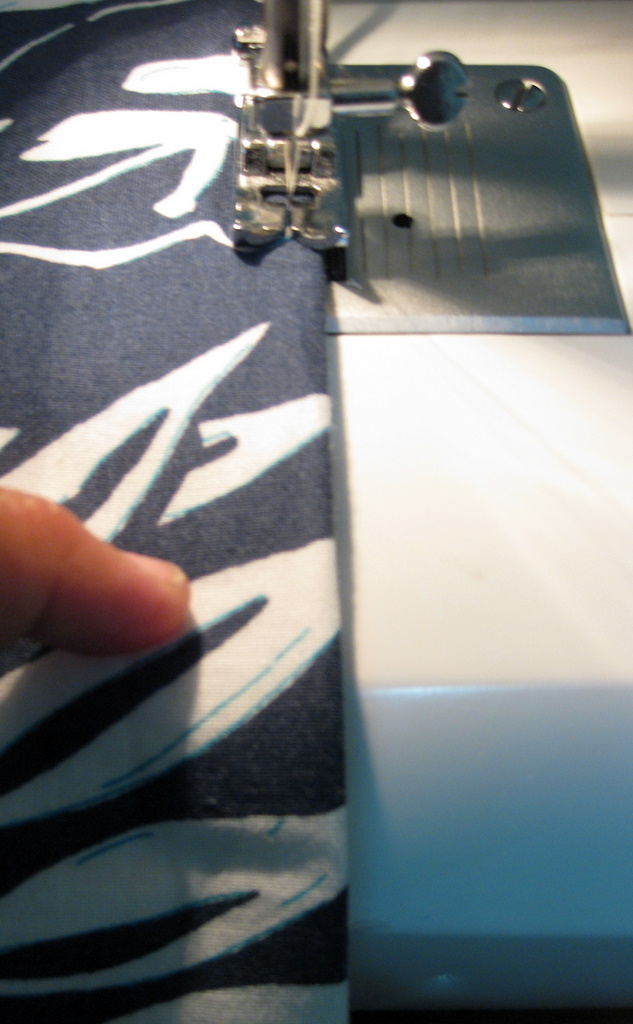
 Don't forget for also sewing the opening on the bottom (lining) of the bag.
Ta Daa..!! Enjoy your beautiful new sling bag now :)
Please let me know if I don't make sense on somehing.
Please let me know if I don't make sense on somehing.


